- Painless Cooking
- Cakes
How
to Bake a Cake
If learning how to bake a cake, almost everyone considers cake baking part of Painless Cooking if prepared with the correct equipment. It is important to use the right pan sizes and right types of cake baking pans. If possible it is good to have on hand 3 each of the standard cake pans sizes; 8 inch and 9 inch in diameter. The size of the pan in relation to the amount of batter which your cake recipe produces influences how your cake bakes.
 How to Bake a Cake
If the pan is too small, the batter will obviously run over and collapse due to not having the needed support to hold the cake up. If the pan is too large the cake will be flat and dryer.
There are many things you must know when learning how to bake a cake. The better quality cake baking pans are made from a highly conductive metal which has a dull heat absorbing finish. You will read in various places that shiny metal pans are the best to bake cake in producing a light tender crust. While learning how to bake a cake, others will tell you that shiny stainless steel pans have poor heat conductors and should not be used to bake cakes in. Honestly, I have used all types and shapes of baking pans; shiny when new, dull, gray and painted exteriors with no problems. I even bake pineapple upside down cake in my iron skillet. Today, if a pan is made for cake baking, it usually does a good job. The only types of pans I will tell you not to use are the DOUBLE LAYERED BOTTOM (OR INSULATED) baking pans. I do not like baking in this type at all.
NOTE: When using granulate sugar, you cannot go wrong by purchasing the “extra fine” type. I even highly recommend the extra fine sugar for use in cakes and candy making because it dissolves better.
HOW TO BAKE A CAKE: Try one of these recipes below
 |
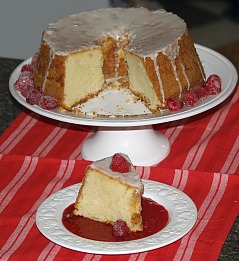
Make a fabulous Lemon Cake |
 |
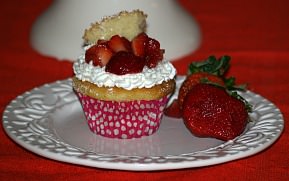
Make fabulous strawberry cakes! |
 |
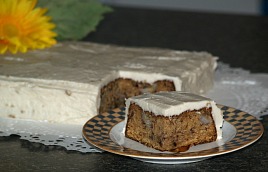
Pumpkin Cake Recipe with butter cream frosting. |
 |
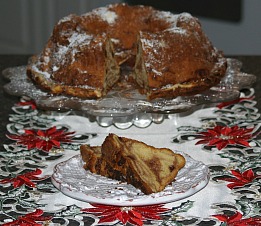
Fruitcake Recipes; my traditional fruit and nut recipe, cranberry, banana Bundt, Christmas fruit cake or a no bake recipe. |
 |
How to bake a cake with the citrus flavor of key limes. Make a key lime layer cake, a key lime coconut cream cake or a key lime sponge cake all are delicious! |
 |
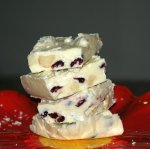
Make moist and delicious yogurt cakes like the Greek Yaourtopita, a Lemon cake with citrus frosting,a Blueberry,a Dried Cherry, and a Honey cake. |
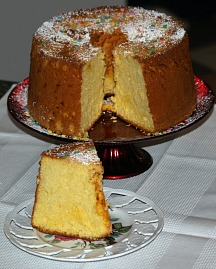 |
Sponge Cake Recipe, Southern sponge cake, old fashioned recipe or a chiffon cake recipe. |
 |
|
 |
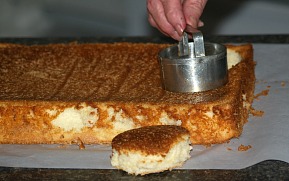
Surprise Cupcakes made with a caramel cake recipe and brown sugar frosting and a chocolate recipe with cherry surprise. |
 |
Cake Baking Tips makes the job easier with better results. |
 |
History of Pound Cake with the best pound cake recipe and a chocolate recipe. |
 |
Learn how to make delicious pound cake. Make a southern pound cake, a sweet potato pound cake with marshmallow frosting, a chocolate raspberry pound cake, a banana pound cake, brown sugar rum pound cake with a rum sauce, an orange pounds cake, a coconut pound cake, a blueberry pound cake, a cinnamon chocolate pound cake and a peanut butter pound cake. |
 |
How to Make a Sponge Cake to achieve light airy texture; recipe for hot milk cake with caramel topping, easy sponge cake with black walnut filling and a sponge cake dessert. |
 |
Cake Mix Recipes for gooey bars, chocolate praline layer cake, chocolate coconut dessert cake, butterscotch cake, chocolate cookies or turtle cake recipe. |
 |
How to Make a Cake with tips and problem solutions; recipes for raw apple cake. |
 |
Bourbon Cake Recipe; history of the Kentucky Derby Cake with bourbon syrup. |
 |
How to Make Cupcakes recipes for spice, strawberry shortcake, carrot or chocolate macaroon. |
 |
Cake Filling Recipes for chocolate, cream filling, lemon, nut, pineapple and orange filling. |
 |
Best Cake Recipes for coconut with lemon filling and boiled frosting, sweet potato cake, hummingbird cake, and selection of frostings. |
 |
Good Cake Recipes like prune with buttermilk topping, delicious white cake and a black walnut cake made with a box cake mix. |
 |
How to Frost a Cake with VIDEO; recipes for broiled frosting, butter cream frosting and a cake glaze. |
 |
How to make easy cake recipes like monkey cake with dates and banana cream coconut topping, Lemon pound, pineapple with cream cheese topping, pineapple sweet potato, prune and apple stack cake. |
 |
Homemade Cake Recipes like spice with brown sugar topping, banana and a simple basic cake. |
 |
Carrot Cake Recipes with VIDEO; one with candied fruit, with crushed pineapple and one with orange. |
 |
Date Cake Recipe with cranberries and Potica cake made with yeast and date filling. |
 |
Orange Slice Cake Recipe with orange juice topping or a chocolate one made with box of Swiss chocolate cake mix. |
 |
Black Cake Recipe, also called Jamaican cake or wine cake, with icing or a fondant. |
 |
Learn how to make fabulous Christmas fruitcake recipes like an Asian fruitcake, farm fruitcake, no bake fruitcake and many more. |
 |
Delicious moist Sausage Cake with fruits and nuts. |
 |
A selection of Black Walnut Cake Recipes with various frostings; cream cheese, sour cream and caramel frostings. |
 |
Fresh Coconut Cake Recipe; how to crack the coconut to make cake with sauce and frosting, a coconut pineapple cake and a coconut spice cake. |
 |
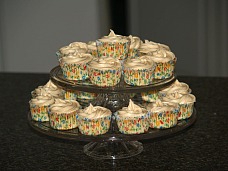
Three Vanilla Cupcakes with butter cream frosting or banana frosting and vanilla mini cheesecakes. |
 |
Upside Down Cake Recipes They are usually lined with fruit like peaches, pears, apples, cherries and probably the most popular is pineapple upside down cake. |
 |
Bundt Cake Recipes includes a video for making the Tunnel of Fudge Cake |
 |
Cake Pops Recipe; fruit bran turkey cakes. |
 |
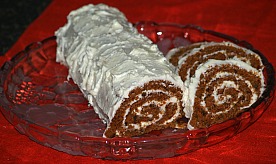
Cake Roll Recipes includes a video for a Orange Sponge Cake roll |
 |
Learn how to bake a cake from scratch like my favorite white cake which can be decorated for any special occasion. |
 |
Learn how to bake a cake with a very flavorful Orange Cake Recipe! |
 |
Bake a fabulous Flan Cake. |
 |
Learn how to make an Old Fashioned Angel Food Cake. Make a spiced, chocolate, marble or maraschino cherry Angel Food. |
 |
Learn how to make delicious plum cakes. |
 |
Make delicious and rich chocolate cakes. Learn how to bake a cake like a moist Red Devils Food Cake, a rich Mississippi Mud Cake, a Chocolate Peanut Butter Cake, an elegant Chocolate Mint Cake Roll, a decadent Almond Joy Cake, or a cute Chocolate Pumpkin Cake. |
 |
Get creative with your party cake ideas! This cake was made for my friends twin girls who play softball. |
 |
Learn how to make a traditional, original, orange flavor or chocolate Boston Cream Pie! |
 |
Learn how to make dark chocolate cake recipes. Make a cake with raspberries, one with sour cream, a deep dark chocolate, or a dark chocolate cake with fluffy peppermint frosting! |
 |
Use your creativity to make great cakes for kids parties. use simple pans and colorful frosting! |
 |
Learn how to make poppy seed cake recipes: my sister Gloria's, a fruit cake, with a box cake, a chocolate, a Bundt, one with almond filling or one with almonds and fresh grapes. |
 |
Learn how to make easy birthday cakes for kids. Make a simple lollipop cake, choo choo train, Disney princess cake or a polka dot cake. |
 |
Make fun kid's chocolate cakes. Make a creepy crawler cake, a worm, snake, dinosaur, a wagon train or a train. |
 |
Learn how to make an apple stack cake recipe. There are many variations to this recipe. You will find recipes from Pennsylvania, Kentucky, the Appalachian mountains and all the the way back to Europe. |
 |
Make delicious torte recipes! These recipes include: pineapple and cream cake torte, Warsaw party torte, German Black Forest torte, dark chocolate sachertorte recipe, pumpkin spice cream torte and Linzertorte recipe. |
 |
Bake scrumptious nut cake recipes like the following: Greek chocolate cake recipe, toasted butter pecan cake, bourbon nut cake, mixed nut torte, Brazil nut fruitcake, old fashioned pecan cake, walnut cake, and a hazelnut torte cake recipe! |
 |
Prepare tasty petit fours recipes! This page contains vanilla petits fours, brownie petit fours, white party cakes, petit fours recipe for the holidays, nutty petits fours, chocolate almond petit fours and mini chocolate chip petits fours. |
 |
Make fabulous cake square recipes like the following: French pastry cake, brownie cake squares, honey apple cake recipe, Mississippi mud cake, cranberry nut cake, apple caramel squares, pineapple sheet cake, Italian cream refrigerator cake, chocolate marble cake and maple walnut cake squares. |
 |
Make the best pear cake recipes like the following: Finnish pear pan cake, fresh pear bundt cake, pear cranberry gingerbread cake, praline pear cake, ginger pear upside down cake recipe, pear cake with chocolate, almond pear torte, old fashioned pear cake and a low fat pear carrot cake. |
 |
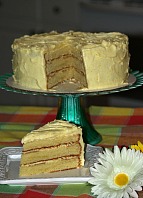
Learn how to make yellow cakes with these fabulous recipes: two layer basic yellow cake with caramel frosting, three layer yellow cake recipe, caramel yellow cake recipe, yellow cake with banana nut frosting, basic 2 egg yellow cake with maple pecan frosting, yellow pound cake, easy yellow cheese cake and caramel topped yellow cake. |
Watch Me Make Self Rising Flour
Watch Me Make Cake Flour
Watch Me Prepare a Cake Pan
I use glass baking dishes quite often and never have a problem with the cakes. Glass does require lowering the temperature 25F degrees and I never bake in them over 400F degrees. Also note than when baking larger cakes as in wedding cakes it takes much longer to bake to get the middle done. Because of this the sides touching the pan often get too brown. Magic strips come in very handy for these cakes which take longer to bake. These strips can be moistened and placed around the pan to keep the sides cooler thus preventing the sides from browning too much.
Different people have different ways of preparing their
cake pans for baking; some use butter or oil to grease their pans. After
I learned how to bake a cake, I learned by experience the best way to
grease cake pans. Now I always use a solid white shortening if the
recipe (like the yellow cake recipe below) calls for greased pans. Also I
never grease a cake pan without dusting it with flour. The slick side
of the pan from the grease will not allow the cake to adhere causing the
cake to drop. A lot of people use parchment paper to line their pans; I
never have. I have always lined my layer cake pans with wax paper;
first grease, line with wax paper, grease again (wax paper and sides of
pan) and then lightly dust entire inside of pan with flour. Another
thing to note is that you never grease a foam type cake; angel food,
sponge or chiffon. These cakes need to adhere to the sides to hold up
during the rising. These are all important techniques when you are learning how to bake a cake.
I have seen more ones destroyed in the oven baking process than any other way. I have found it very useful to keep an oven thermometer on hand to test your oven from time to time to make sure your oven is working properly. Almost all of mine are baked at 350F degrees; lower temperatures for layer cakes result in a coarser texture and higher temperatures than 375F could cause over browning or higher peaks in the center.
When learning how to bake a cake you will see that cakes bake best on the rack (or shelf) as close to the center of the oven as possible. If using a convection oven, I will bake them on two shelves with the shelves placed on the bottom third of the oven and two thirds from the bottom of the oven. Arrange them so they do not touch sides and no cake is over top another cake. In a regular oven, I never bake on more than one rack; spacing the cakes so they do not touch each other.
I once read when I was learning how to bake a cake that a cake baking time is divided into 4 quarters visible to your eye. Our modern oven doors with the window in them help us to “eyeball” our cake baking. During the first quarter the cake begins to rise, the second quarter the cake continues to rise and begins to brown, the third quarter the cake continues to brown and the fourth quarter the cake finishes the baking and pulls from the sides of the pan (except for fruit cakes and some rich pound cakes). Do not open the oven door unless necessary and not often; never move the cake in the oven while baking. When an inserted pick comes out clean, the cake should be done. Fruit cakes can be pressed in the middle with your fingers to test for doneness; if center is firm and cake leaves no finger indentation it is done.
If you are learning how to bake a cake and you are baking at high altitude, you will encounter additional problems. Anything over 3000 feet requires additional knowledge as I learned. The lower air pressure causes water to boil at a lower temperature; it took me a while to figure out why my boiling tea water did not produce a good hot cup of tea. These conditions cause more evaporation and too much evaporation when baking cakes will cause the cakes to collapse. For elevations over 3500 feet, the oven temperature should be increase by 25F degrees to help cakes set faster.
NOTE:
It is recommended for high altitude to make the following adjustments to your recipes: decrease baking powder per teaspoon used to 1/8 teaspoon for 3000 feet, 1/8 to ¼ teaspoon for 5000 feet and ¼ teaspoon for 7000 feet.
Increase liquid in recipes by 1 to 2 tablespoons for 3000 feet, 2 to 4 tablespoons for 5000 feet and 3 to 4 tablespoons for 7000 feet.
When learning how to bake a cake, follow your instructions in the recipe as to the cooling. Most cakes will need to be cooled completely before adding a frosting. After 10 minutes of cooling in the pans, layer cakes can be turned out on cooling racks to cool completely. Here again, I differ a little because I always turn my cakes out on wax paper over my board; I do not use the racks in my kitchen. I have done it this way for years without any problems although some say the cakes get soggy; this could be with “cake mix” cakes which I never use for layer cakes. For foam cakes such as angel food, sponge and chiffon cakes, they must be turn upside down on a bottle to cool completely before removing from pan. To know how to bake a cake you must first know the type of cake you are baking.
Sign Up for My Monthly Newsletter to Learn More Great Tips!
What's Cooking
-
How to Make Dinner Rolls
Jan 16, 24 09:01 AM
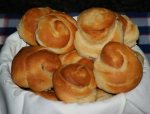 Learn how to make dinner rolls with many yeast roll recipes like refrigerator rolls, melt in your mouth rolls, Parker House rolls and Monticello rolls.
 -
My Best Banana Bread Recipe
Jan 16, 24 08:18 AM
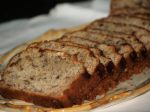 Search for the best banana bread recipe; recipes with sour cream, buttermilk, All Bran Cereal, dates, yeast, blueberries, oatmeal, cornmeal, Spanish recipes, lots of nuts and much more.
 -
Candy Recipes
Jan 16, 24 02:52 AM
 Learn the necessary candy making equipment for your candy recipes; hard tack and coconut balls.
 -
How to Make Thumbprint Cookie Recipes
Jan 16, 24 01:36 AM
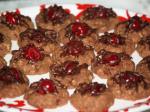 Make one of these tasty recipes for filled cookies like a thumbprint cookie recipes, cream cheese, and chocolate or peanut butter thumbprints.
 -
Christmas Candy Recipes
Jan 09, 24 01:21 PM
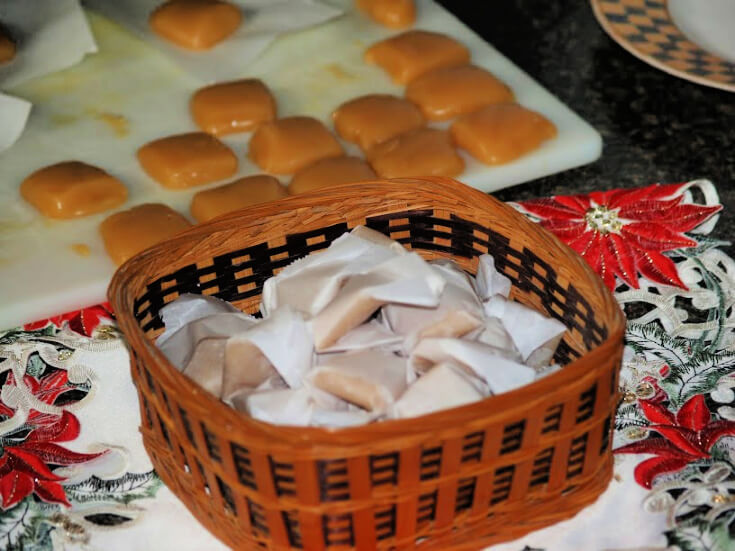 Christmas candy recipes for caramels, heavenly caramels, layered mints, peanut butter balls, English toffee, peanut brittle, coconut nougat squares, triple chocolate fudge, cranberry vanilla fudge, ch…
About Me | Contact Me | Privacy Policy/DISCLAIMER | What's New!
By Frances Peffly Moore © Copyright 2009-2024 painlesscooking.com